|
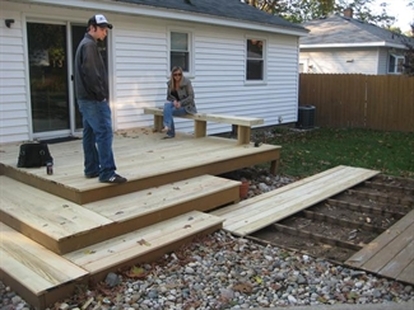
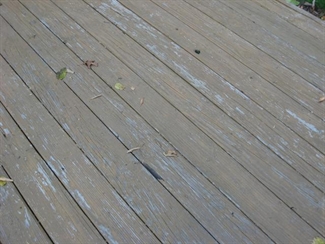
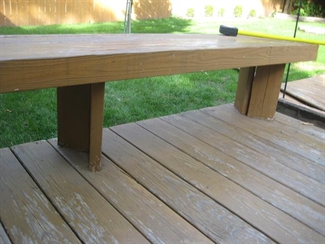
Over the past few weeks, I completely refurbished my deck. I did not rebuild the entire thing, but rather replaced all of the top boards. The frame was still in good shape, but the top boards were cracking and some of them were starting to rot. I would like to share some of the things I learned: 1) Removing the old boards was very difficult. I basically had to dig the nails out using two hammers (a nail claw will do the same thing). Because the wood was old and soft, a pry bar did not work at all. In the case of the built in bench, kicking it worked well :)
2) I chose to screw my boards down first, then trim the edges with a circular saw so they are all the same. It worked great, but it can be tricky if you get to an end piece that butts up against something. I recommend precutting any boards that are difficult to reach, then trim the rest to match. 3) Be very picky when choosing your deck boards. It is difficult to find ones that are perfectly straight, but it will make the deck turn out so much nicer. The main problems I ran into were caused by less than perfect boards. I chose a midgrade, pressure treated wood that was $10 for each 12 foot board. 4) Choose a high quality deck screw that can hold up to the outdoors. The screws I used were self tapping (no need to predrill holes) and went through the wood like butter. The cost was $43 per box of 350. 5) Since the lumber is pressure treated, it needs to weather before I can stain it. I plan to use an oil based stain. In the past I used a water based stain and it would never hold up through the winter. It was supposed to be a six year stain, but it didn't even last one year- avoid water based!
0 Comments
Leave a Reply. |
Lisa VanderLooGreat info on everything real estate. Categories
All
Archives
November 2023
|


 RSS Feed
